This guide will show you how to replace the rubber base on your test jig with screws to increase stability. Such replacement is often necessary to ensure a robust attachment of the adapter, especially in industrial environments. Follow the steps below to successfully replace the rubber base.

Step-by-step instructions:
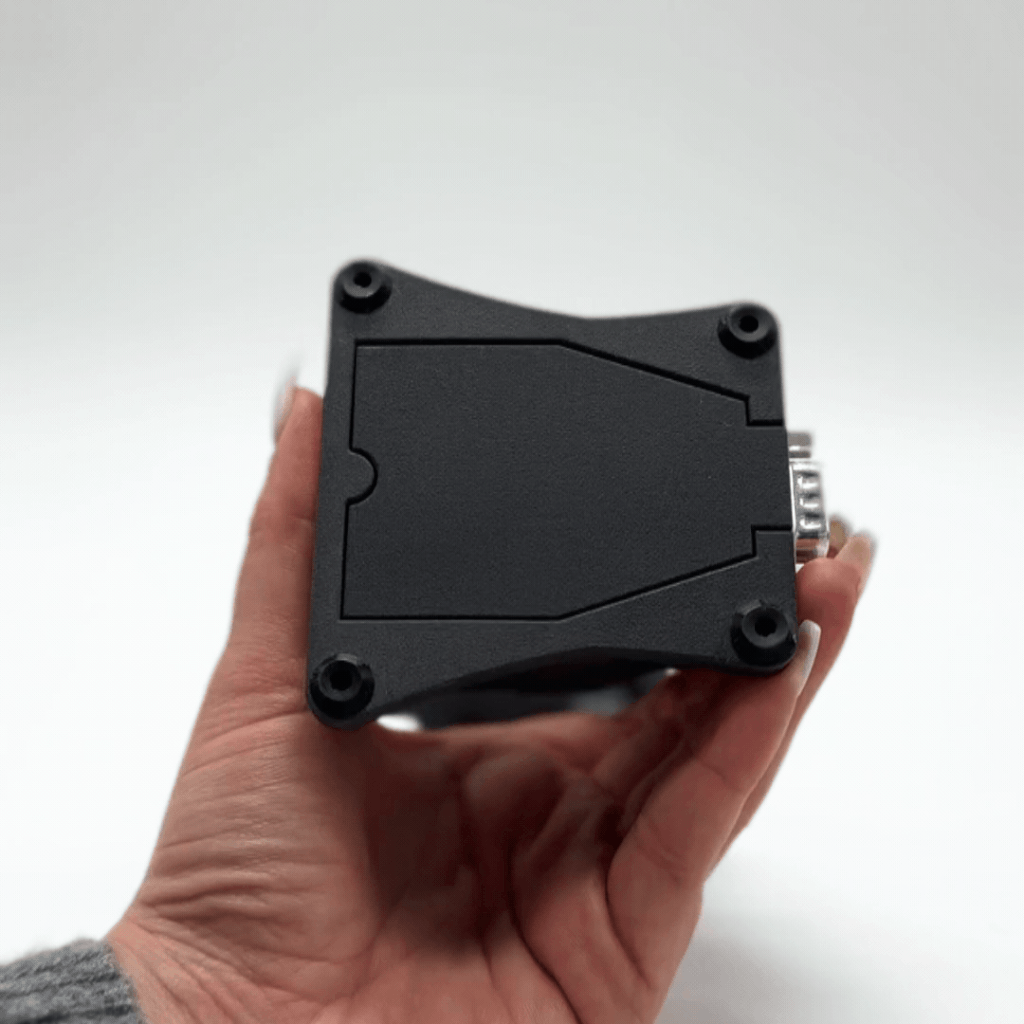
1. Remove the old rubber base:
- Turn the test jig over so that the bottom is facing up.
- Use a pair of pliers to carefully pull out the old rubber base. Grip the rubber foot firmly and pull it out of the holder with a slight twisting motion.
2. Attaching the new screws:
- Take the new screws and place them in the appropriate places on the bottom of the test jig.
- Make sure the screws fit tightly and securely into the brackets.
3. Verification:
- Check that the new screws are secure and that the test jig is stable.
- Test the test jig on a flat surface to ensure that it does not exhibit any unusual movement.
4. Functional check:
- Turn the test jig back on and check its functionality. It should now be ready for use.